
Discover the joy of making your first gluten-free sourdough starter. Simple steps, delicious results, and a healthier bread option await!
Creating a Deliciously Tangy Gluten-Free Base for Your Baking Adventures
Creating a gluten-free sourdough starter is an exciting process that allows those with gluten sensitivities to enjoy homemade bread. The initial step involves combining gluten-free flour, such as rice flour or a blend of various gluten-free flours, with water to create a thick paste. This mixture is then left at room temperature to encourage fermentation, during which wild yeast and beneficial bacteria naturally present in the environment will begin to thrive. Regular feeding with additional flour and water is essential to maintain the starter’s activity and develop its flavor profile.
As the starter matures, you may notice bubbles forming, which indicates that fermentation is taking place. It typically takes about 5 to 7 days for the starter to become fully active and ready for baking. A well-fed starter will have a pleasant, tangy aroma and will double in size within a few hours of feeding. This active starter can then be used in various gluten-free sourdough recipes, providing an opportunity to create delicious, artisanal bread at home without sacrificing taste or texture.
Rising to New Heights: Crafting Your First Gluten-Free Sourdough Adventure
Hi guys. Um, my name is Carla and um, a little bit about me. I have a husband who has celiac. We met back in 2014 and um, I decided when I met him because I had not a clue as to what celiac disease was. I thought he could just take the breading off a piece of chicken and he could eat it. Um, that is not the case unless I want him to end up.
In the hospital or in bed for three days. that’s how he reacts to being glutened. So, I dove into figuring out everything I could about how to take care of this man because um from day one it was definitely um I realized he was a keeper. So anyway, um what we’re going to start with because I have never done sourdough starter. And.
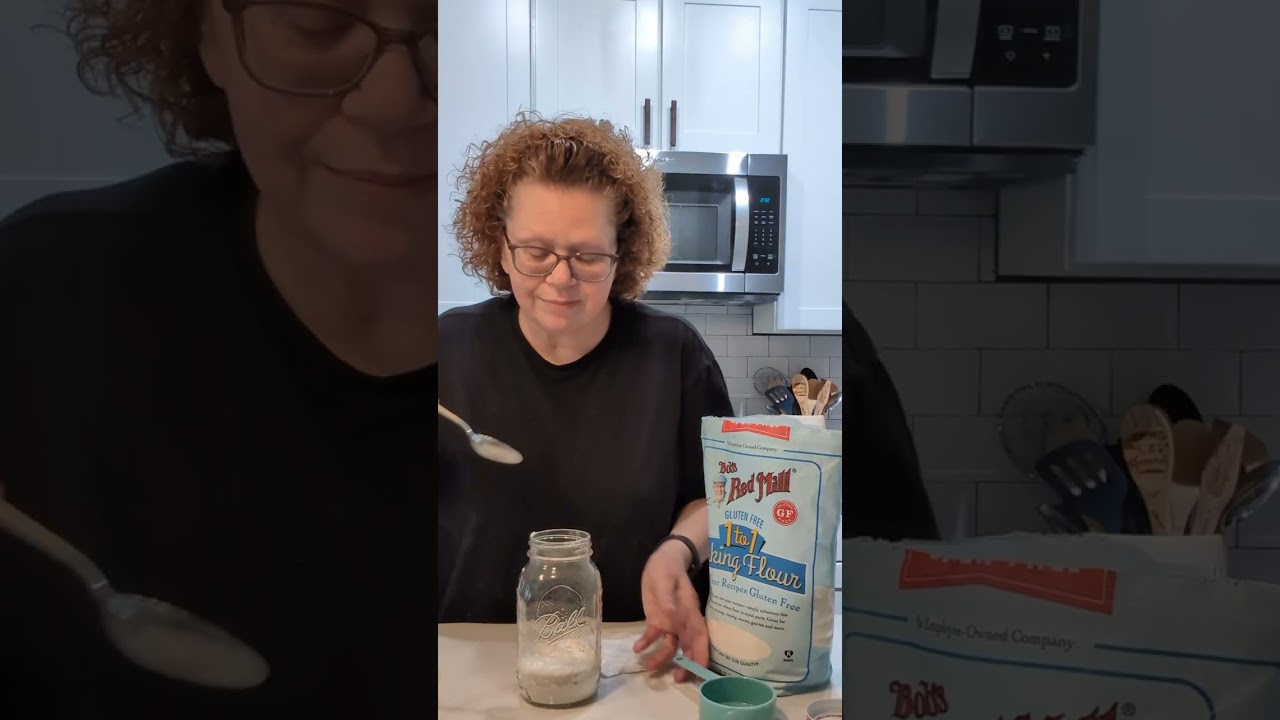
So we’re going to start with um a half a cup of Bob’s Red Mill. And basically, from what I understand, again, cuz I’m new to doing this, um I’m going to put half a cup of the Bob’s Red Mill and I’m going to put a half a cup of water. We want it to have a pancake.
Um batter look um to start with. And so that’s what we’re going to do. And um let me see here. Let’s get us some filtered water. So start with some filtered water. And again, we’re going to go with half a cup. We’re going to see how this.
Works with um one to one on mixing. If I need to add some more flour, I can. If I need to add more water, then we’ll do that. So, I know this is not a wet mixer cup. So, nobody needs to um correct me on that. You’ll realize um while you’re watching me that I never.
Use correct, so to speak, wet or dry mixing cups. That’s just me. Now, I’m not new to baking gluten-free. I bake a lot of stuff gluten-free, just never, like I said, never sour dough, never anything like this. This is something that is totally 100% new to.
Me. So, it looks really good. I’ve got all the little lumps out. And it definitely has a pancake batter texture to it, consistency. So, I’m super excited to see what happens. Okay, guys. So, done with that. Set those aside. And let me get a.
Napkin. I was going to get a napkin. One of the little two one of these right here. And I’m going to put this over it. And then we’re going to store it in a not too warm of a place, but you know, you want your starter to be anywhere from 70 80° from what I understand for it to start growing. Um, so we’re going.
To start with this. I’m going to stick it in a in a warm or dark place here in the kitchen um where it won’t get too cold, but won’t get too warm either. Don’t stick it in the oven cuz you might turn the oven on and preheat it and then you’re done for. So, we’re going to set this out. Um, today is April 23rd. So, we are going to start this out.
Today and we’re going to see how it grows.
Share 👇
Related:
 What is Gluten Free Baking and How to Bake Gluten Free Treats for Gluten Intolerant Individuals
 The Essential Encyclopedia- Unraveling Gluten: A Journey to Health-Gluten-free foods, flours & more
 Karina Gould Spills on Being Gluten-Free, a WikiFeet Icon, Hate Comments & Running for PM
 Gluten Free Banana Muffins with Peanut Butter Chips