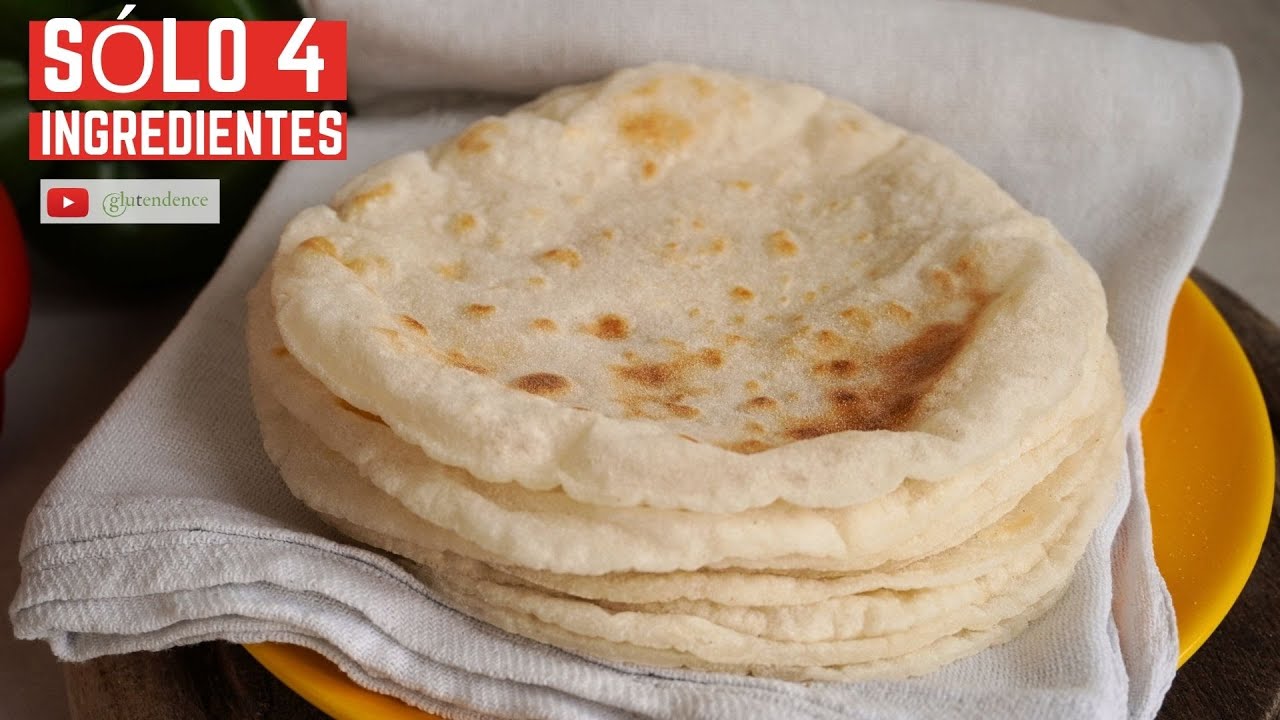
Discover our delicious GLUTEN-FREE and VEGAN Rice Flour Tortillas (Roti)! Perfect for a tasty and healthy meal option.
Gluten-Free and Vegan Rice Flour Tortillas (Roti)
If you are looking for a simple and delicious gluten-free and vegan recipe, look no further. Learn how to prepare Rice Flour Tortillas or Roti de Arroz with just a few common ingredients. With 175g of rice flour, 300g of water, salt, and oil, you can make 8 tasty tortillas in no time.
These rice flour tortillas are perfect for wraps or fajitas, and are a great alternative for those with dietary restrictions. Enjoy a tasty and versatile meal with this easy-to-follow recipe that will surely become a staple in your kitchen. Say goodbye to store-bought tortillas and make your own with this gluten-free and vegan option.
Rice Flour Tortillas (Roti) | Gluten-Free and Vegan Delight
Hello everyone! Today I am going to prepare a very simple but absolutely delicious recipe: rice flour tortillas or rice roti, very common in India but also in various Latin American countries. These tortillas or rice roti are flexible, resistant and with a delicious flavor. And the best of all is that they are prepared with very few ingredients. Although it is a very easy recipe, there are some details of great importance for it to come out correctly. In the video I will tell you all about them. By the way, I also have a recipe for rice tortillas on the channel, prepared from cooked rice. I leave you the recipe up here, very easy too and very delicious. I invite you right now to subscribe to my.
Channel and activate notifications. And let’s see how to prepare these tortillas or rice roti. Before starting I’m going to tell you some important things. As you know, there are many varieties of rice, but they are all grouped into two families: japonica and indica. Rice from the indica family has a fine, elongated grain, and is loose when cooked. Rice from the japonica family has a short, fat grain and is much stickier when cooked. What happen? The same thing happens to rice flour , depending on the type of rice it comes from, it can be more or less sticky. So the tortillas will differ a little depending on the.
Type of rice from which the flour you use comes from. The dough prepared with japonica rice is much easier to handle, but the tortillas are stickier and moister on the inside. With flour from rice from the indica family, the tortillas are lighter, but the dough can even crack if you don’t work it quickly enough. In my case, since I grind rice flour at home, I have mixed rice of both types which I think gives a fantastic result. If you buy flour already ground, you obviously don’t know what type it comes from. But yes, I have a stone mill that grinds it super fine. Be careful if you grind the flour with a grinder, because if it is too coarse it may not come out correctly. And now let’s go with the recipe. We begin by blanching the flour,.
A very important step for the dough to acquire the right consistency, otherwise it will be fragile, sticky and break. We heat the water over high heat in a very large frying pan or saucepan. We need the water to have a large surface area to be able to spread the flour as much as possible later. And it is convenient that it has a thick bottom so that it distributes the heat well. As you can see, I have the kitchen in position 8 of the 9 it has. Add the salt, the oil, in my case sunflower. And stir so that everything is distributed well. As soon as the water begins to boil well, add the flour all at once, trying to spread it as much as possible so that it comes into contact with the water. Do not remove it, if necessary, spread it and help it submerge. We want to cook.
As much flour as possible. After 30 or 40 seconds, lower the heat to minimum if your stove is gas, or if you have an electric stove or ceramic hob like I do, you can turn it off and use the remaining heat. And now, start stirring, you must soak all the flour. Stir and make sure to soak all the flour well. I go back to what I told you at the beginning. Depending on the brand of flour you use, you may notice the flour is a little more or less dry. When everything is well hydrated, after a little more than a minute, spread it out, this will help to soften and later remove what is stuck to the bottom. Remove from the heat, cover, and let it rest for 5 minutes so that the flour can finish cooking with the steam it has.
After 5 minutes, don’t let any more time pass, it’s time to knead. You must do it hot, so you can help yourself with a spatula like I am going to do. The dough still burns but the pan doesn’t, so I can touch it to turn it. You should knead for at least 5 minutes, until you have an elastic dough without any lumps. If you have blanched the flour correctly you should obtain an elastic dough that barely sticks to your hands. How are you doing. As you can see, the steam has caused the dough that had stuck to the bottom to hydrate and allow it to stick perfectly. Pour it onto the table and form a cylinder. Divide into portions. I am going to divide into 8, and I recommend that you also make small portions the first time. When you know how to handle.
The dough without problems you can make larger tortillas if you want. Roll each portion into a ball, and if the dough is properly blanched, it will neither crack nor stick to you. But I insist once again the rice flour used has an influence. If it cracks a little, wet your hands and add a little more water next time. To stretch the tortillas, I highly recommend using two pieces of plastic wrap or a cut-up freezer bag. This way you will use less flour to stretch them, because if you use too much flour, they will not cook enough, and the tortillas may feel heavy. Coat the surface a little with rice flour and roll out. You can use a tortilla press, a board like me or directly a rolling pin.
When you have it stretched, peel off the plastic, cover it with rice flour so that it doesn’t stick everywhere, and remove the excess. With a brush it is done wonderfully. Do the same for the other side. Place on a board or tray while you do the rest. As you can see, the dough is resistant despite being very thin. And one more thing, if it sticks to the plastic or you notice that when you lift it it breaks, that it is not elastic like mine, it is not because of excess water, but because you have not blanched the flour enough, it can happen the first few times, it is normal . Stretch the tortillas if necessary on pieces of baking paper. And when you cook them, you place them with the same paper on the pan. To cook the tortillas you need a.
Thick-bottomed pan that does not warp in the heat, and you must heat it over high heat. I have the stove on position 8 of 9. When it is very hot, place the first tortilla. As you can see, so that it is well centered, I support the center first and let the edges fall. Cook for about 20 seconds or a little longer, and as soon as you can flip it without breaking it, turn it over. It is important that you do not take long to do this first turn so that the upper side does not dry out and crack. Cook another 30 seconds. It is possible that it will start to inflate now, press it a little so that the air is distributed. After 30 seconds it comes back again and here it should inflate like a balloon. Sometimes the dough is punctured a little, you see steam escaping,.
And that can cause it to not puff up completely. You can cover the hole with the spatula. But if nothing inflates, either it is very thick, or the temperature of the pan is a little low, or you didn’t make the first turn quickly enough and it has dried out and hardened the surface. Turn one more time and cook the last 30 seconds. That is, cook twice on each side. Remove to a plate, remove any flour that has fallen into the pan, so that it does not burn and stick to the next tortilla. And place the next tortilla. The process is the same. I forgot, place a cloth or some absorbent paper under the first tortilla to absorb the steam it releases. And enjoy watching your tortillas puff up. And they would be ready to enjoy, look how wonderful! I have to say that they look spectacular.
With this rice flour . They look almost like wheat. And notice that they can even be opened like a pita bread. You can dip it in a curry, hummus or even prepare burritos. Here I show you how they look with japonica variety rice flour, the stickiest one, which is one of the first tests I did. They are more humid, the inner bag for example has been closed, but they are also very delicious, super flexible. You always ask me how long they last and if they can be frozen, and for once I have remembered to do the test. This one here has been done for about 16 hours, and has been well covered. These have been frozen overnight, I thawed them an hour ago. They are both still flexible, I’m going to warm them up and see how they go.
The texture is phenomenal. But it is true that as they begin to cool after being reheated, they become somewhat brittle. And just for today, I’m going to have a couple of rotis, rice tortillas and I hope you dare to prepare them at home. Greetings to all!