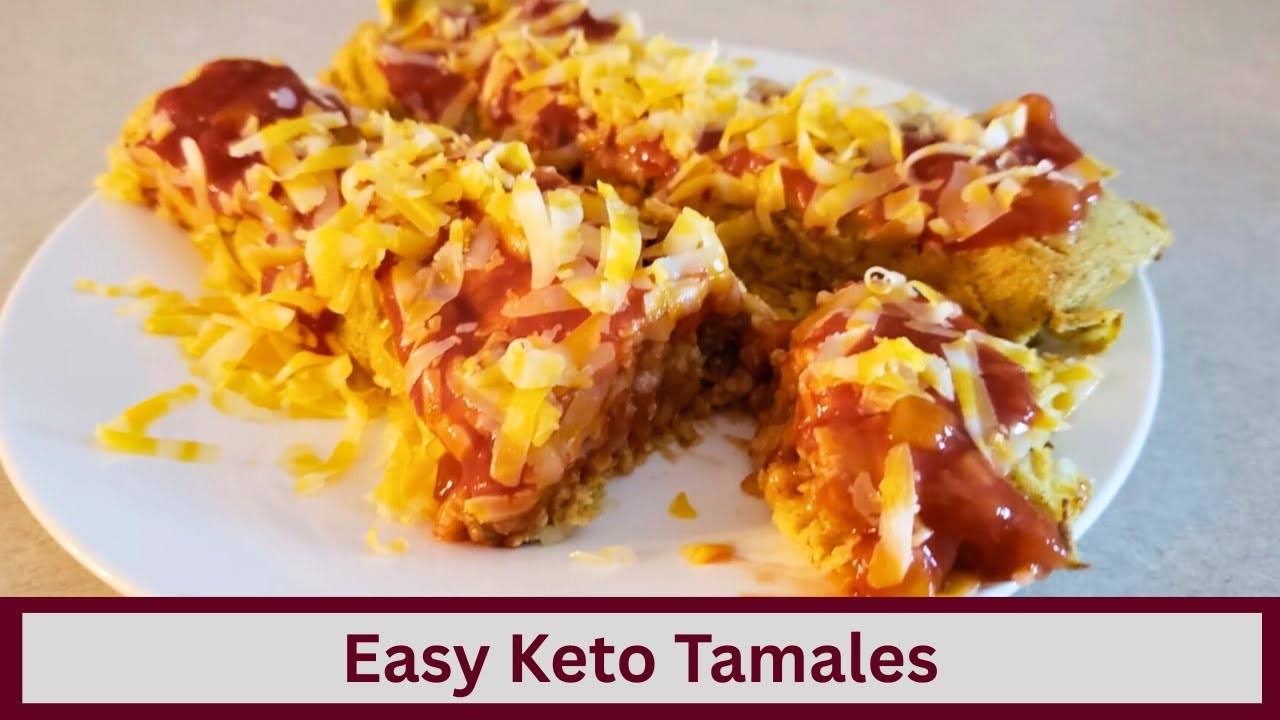
Discover the joy of Super Easy Keto Tamales! Nut-free and gluten-free, these delicious treats are perfect for your low-carb lifestyle.
Deliciously Simple Low-Carb Tamales for a Healthy Twist
This easy keto tamales recipe is perfect for those following a low-carb diet. These tamales are designed to be keto-friendly and cater to various dietary needs, as they are nut-free, gluten-free, sugar-free, and diabetic-friendly. One of the standout features of this recipe is that it requires no corn husks or any special equipment, making it accessible for anyone looking to enjoy a delicious meal without the hassle of traditional tamale preparation.
By focusing on simple ingredients and straightforward methods, this keto tamales recipe allows you to indulge in a classic dish while adhering to your dietary preferences. Whether you’re a seasoned keto enthusiast or just exploring low-carb options, these tamales offer a tasty and satisfying alternative that fits seamlessly into your meal plan.
Indulge in Guilt-Free Flavor: Deliciously Keto-Friendly Tamales for Every Craving!
Drain and rinse a 15 oz can of whole baby corns. And yes, as I always tell you when I use baby corn, baby corn is keto friendly. it has not matured enough to get the sugars and carbs that fully matured corn has. I will always say that. Then place them on a cutting board and cut them into small pieces. Place.
The corn pieces into a large food processor. Process in 20 to 30 second intervals until the corn is smooth and mushy. Then set that aside for just a minute. In a large mixing bowl, combine 28 g or about 1/4 cup of coconut flour, a half tbsp of the dried taco seasonings of your choice. I’m using a/ teaspoon of garlic powder,/ teaspoon of onion.
Powder, and 1 teaspoon of chili powder. Add a four teaspoon of salt and a4 teaspoon of zanthan gum. If you don’t want to use zanthan gum, you can use psyllium husk powder, but you’ll need twice as much psyllium husk powder. Also, if you use psyllium husk powder instead of the zanthan gum, you might need to use a little bit more liquid.
Psyllium husk powder tends to be a little bit more absorbent than zanthan gum. Sift everything all together until it’s fully combined and there are no lumps in the dry ingredients. Then set that aside for just a minute. Preheat your oven to 400°. Come back to your corn mush that’s in your processor. Add 28 grams or.
Around two tablespoons of coconut oil or lard to your corn mush. Then process again in 20 to 30 second intervals until the mixture is smooth. Gradually fold the corn mixture into your dry ingredients until everything is fully combined. Knead the dough in the bowl for about a minute until a smooth, lightly moist dough has formed. The.
Dough is going to be the consistency of kind of a thick peanut butter. The masa is not going to be as thin as traditional masa would be. Once your masa is all combined, then set that aside for just a second. Cut five pieces of parchment paper into 8×10 rectangles. This is going to be your corn husk substitute. Place the parchment paper.
One at a time vertically on a clean work surface. Then scoop the mossa out about 3 tablespoons at a time onto the center of each one of the pieces of parchment paper. Spread the mossa out to a circle that’s around 7 to 8 in in diameter and about a 4 in thick. Or you can press it out to whatever size or shape you’d like. The main thing is you want to make.
Sure you’re keeping about a half inch space around the edges and the top of the parchment paper. And you want to leave a large space down at the bottom because you’re going to need to fold the paper up once the tamales are rolled in the parchment paper. So try not to spread the masa more than 3/4s way down of the paper. Then add about 3.
Tablespoon of the filling of your choice and place it slightly off centered of the maso. You don’t want it smack dab in the middle. Now you can use any filling you want. I’m just using a ground beef filling. I just cooked up some ground beef. seasoned it with some taco seasonings, added a little bit of salsa and a little bit of my keto reffried.
Bean substitute. And if you want to, you can sprinkle a little bit of cheese over the top of your filling. Grasp one side of the parchment paper and use it as a guide to fold one side of the masa completely over the filling. Then roll the tamalei over one more time, just like you’re rolling a burrito. Then find the bottom of your tamalei and take that.
Extra paper that’s down at the bottom and fold it up toward the tamalei. Then use some cooking string or do what I do and use a thin piece of parchment paper and tie it loosely around the tamalei packet. Make sure when you’re tying the string or the parchment paper around the packet that you don’t do it super tight. You want it tight enough to secure the.
Package, but not so tight that you’re putting an indention into your tamalei. Then once your masa is made and your tamali are all rolled and secured, place three cups of boiling water into a 3ourt casserole dish or a 9 by13 cake pan. Then place an oven fryer basket or a cooling rack on top of the casserole dish or the cake pan, whichever one that.
You’ve got that boiling water in. Make sure that the water does not touch the oven fryer basket or the cooling rack at all. Lay the tumali’s down flat into your oven fryer basket or on top of the cooling rack. Make sure you don’t overcrowd your tamali. Leave a little bit of space in between each one of the tamali. That way you can have an even.
Cook. Then place it into your preheated oven and bake at 400° for 20 to 25 minutes or until the masa is no longer wet. Once the tamales are baked, remove them from the oven and let them rest in your oven fryer basket or on your rack for about 10 minutes so they can continue cooking and firm up just a little bit. After 10 minutes, stick your.
Finger into the open side of the tamalei packet and just touch the masa a little bit. It’s going to be soft, but it should not be wet. If there’s any wetness to it, then you need to pop it back into the oven for a couple minutes until it’s no longer wet. So once your tamali’s are completely done cooking, place the tamalei packet on the serving.
Plate of your choice. Carefully unroll the tamalei. Then if you want to, you can top it with whatever desired toppings. To me, I like it with a little bit of salsa and a little bit of cheese. If you do have any leftovers, allow the leftovers to cool completely and store them in an airtight container in your refrigerator for up to 3 days. Or you.
Can wrap the tamali in some foil and freeze them for about 6 months. To reheat the tamales, if they are frozen, it’s best to place them in your refrigerator and thaw them out overnight before you reheat them. Then you would place your tamalei on a baking sheet and place it in a preheated 400° oven. Heat it for about 10 to 15 minutes or until.
It is heated through. Or you can wrap your tamalei in a paper towel, place it on a microwave safe plate, and microwave on high in 30-second intervals until it’s heated through. usually takes about 1 to 1 and 1/2 minutes depending on the wattage of your microwave. Eat and enjoy. And that’s our recipe of the day.
I hope you enjoyed it. If you did and you want to see more videos like this, make sure you click that thumbs up, like button, click that subscribe button, leave me a comment if you want to let me know if there’s any recipes that you’d like to learn how to make, and I’ll do what I can to get those out there for you. And as always, keep cooking.