Discover our gluten-free filo and brick pastry, incredibly thin and perfect for all your recipes. Enjoy delicious gluten-free dishes!
Gluten-Free Filo / Brick Pastry Extra Thin!
Discover how to prepare a super thin and super resistant GLUTEN-FREE FILLO or BRICK PASTA. It is also prepared in a very simple way and with few ingredients. Do not miss any detail! The ingredients needed are: 75g of cornstarch, 25g of potato starch, 1.5g of xanthan gum, 1g of salt, 2g of sugar, and 200g of water.
Follow the instructions to make this delicious and gluten-free pasta that will surely impress your family and friends. You can find the full recipe written down in the description. Enjoy this amazing dish without gluten and show off your cooking skills with this easy-to-make recipe. #glutenfree
Gluten-Free Filo Dough / Brick Dough – Ultra thin and delicious!
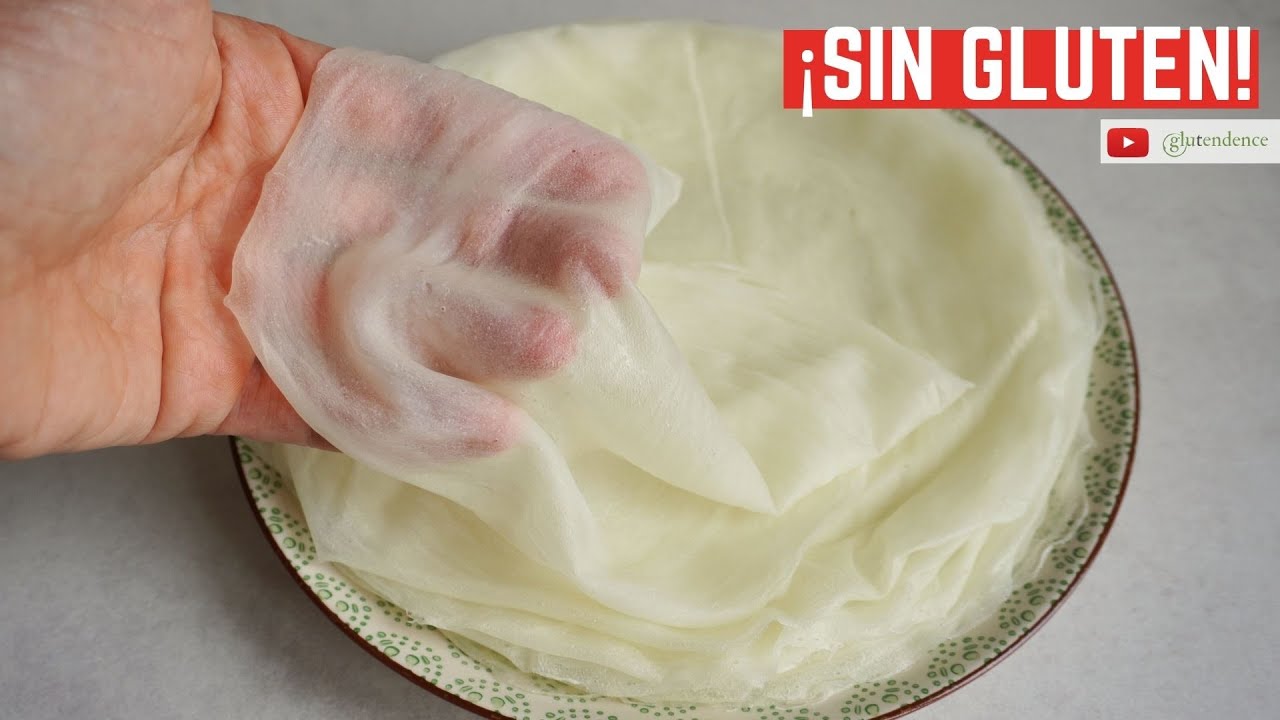
Hello everyone! Today I am going to prepare a very simple recipe that will serve as a base for many other recipes that I will show you: brick pasta or gluten-free filo pastry. As you can see, it is very fine and very resistant. Although they are similar, in reality filo dough and brick dough are different, their origin is different. Certainly the method that I am going to show you is the one normally used to prepare brick dough, but by adding less dough you can also prepare very thin sheets of filo dough. I encourage you right now to subscribe to my channel and turn on notifications. And we are going to see how to prepare gluten-free filo dough and brick dough. We start by mixing the.
Ingredients in a blender glass. What I have here is cornstarch. I’m going to add potato starch. I’m going to add xanthan gum, salt and a pinch of sugar. The sugar will allow the dough to brown when we use it in a recipe. Add the water, and beat until you have a smooth dough without lumps. If you don’t have a mixer, mix with a whisk and then sift the dough with a strainer to eliminate any lumps. Look, this is the consistency the dough should have, it reminds us a little of white carpenter’s glue. To prepare the dough sheets you need a large non-stick frying pan. But do not place it directly on the heat, place it on another pan or saucepan the size of the bottom of the pan that you will have filled with water. This will distribute.
The heat better on the bottom of the pan. I have placed my kitchen in position 6 of the 9 it has. Lightly grease the pan. Very lightly, there should be no visible oil residue. If your pan is perfectly nonstick you may not need it, but the first time, just in case, do it. When the water in the bottom pan boils and not before, start spreading the dough with a kitchen brush. Roll out the dough slowly so as not to drag it all out. As you can see, it sets almost immediately. Start at the edges and add more dough until you reach the center. Don’t worry if there are some parts that are not completely covered, since you will have to spread one more layer. Cover completely again and now try to cover.
All the gaps that may have been left. If you notice that after spreading the dough some parts look whitish and crack, it is a sign that the pan is colder than it should be. That said, the water must boil. As you can see, when you finish rolling out the dough it has practically set. Start loosening the edges with a thin-edged spatula. I am using a rubber spatula. And to remove the foil, it is best to remove the pan from the heat, so that the foil burns less, which is why I have this cloth next to it, so that it collects the water that falls. Carefully pull the sheet and it should come out complete without problems. If it breaks, or you have let the dough dry too much, in that case you will notice that it is.
Hard. Either you haven’t curdled it enough, because the water in the bottom pan hasn’t boiled yet, or because you’ve added too much dough. In that case the dough will be moist and soft. If your hands are used to heat, you can try to peel off the foil without removing the pan from the heat. But beware! Because the steam that is released really burns a lot . It is preferable that you remove it. It is advisable to pass the greased paper between sheets . Not only to grease the pan but to remove any residue that may remain. To prepare filo dough that is very thin, just add 2 layers of dough. But if you need it to be a little thicker, because you are going to use the sheets in a fried recipe, for example, you can add a third layer of dough. One more thing, I have tried replacing the.
Xanthan gum with psyllium husk and it doesn’t turn out bad, but the consistency of the raw dough is different, it is more liquid and it feels different when you roll it out. And this is how these sheets of filo dough look, gluten-free brick dough. Look how thin they are and how flexible, how wonderful! As you can see, many sheets come out of a small amount of dough. Importantly, you must use them freshly made, since as the hours go by they harden and become brittle. I have to say that these sheets are perfect when you fry them, but you have to get the hang of them in the oven to make them crispy. And just for today, as I upload recipes with this dough I will link them here and in the video description, and I will tell you how to make it perfectly.
Crispy in the oven. Greetings to all!