Learn how to properly maintain a healthy gluten free sourdough starter, including feedings and long term storage tips for optimal results.
Ensuring the Longevity of Your Gluten Free Sourdough Starter
Establishing and maintaining a gluten free sourdough starter doesn’t have to be complicated. In this video, you’ll learn how to feed and store your starter for daily, weekly, or long-term use. It’s important to note that a newly established starter may take some time to reach its full potential, so be patient with the process. Understanding the difference between an active starter and discard is key when following sourdough recipes.
Whether you’re new to sourdough or looking to explore gluten free baking, this tutorial will guide you through the steps of maintaining a healthy starter. With tips on feeding, storing, and using your starter in recipes, you’ll be on your way to creating delicious gluten free sourdough bread in no time. Embrace the science of sourdough and enjoy the process of nurturing your own starter for baking success.
Mastering the Art of Gluten-Free Sourdough: Tips for Keeping Your Starter Happy and Healthy
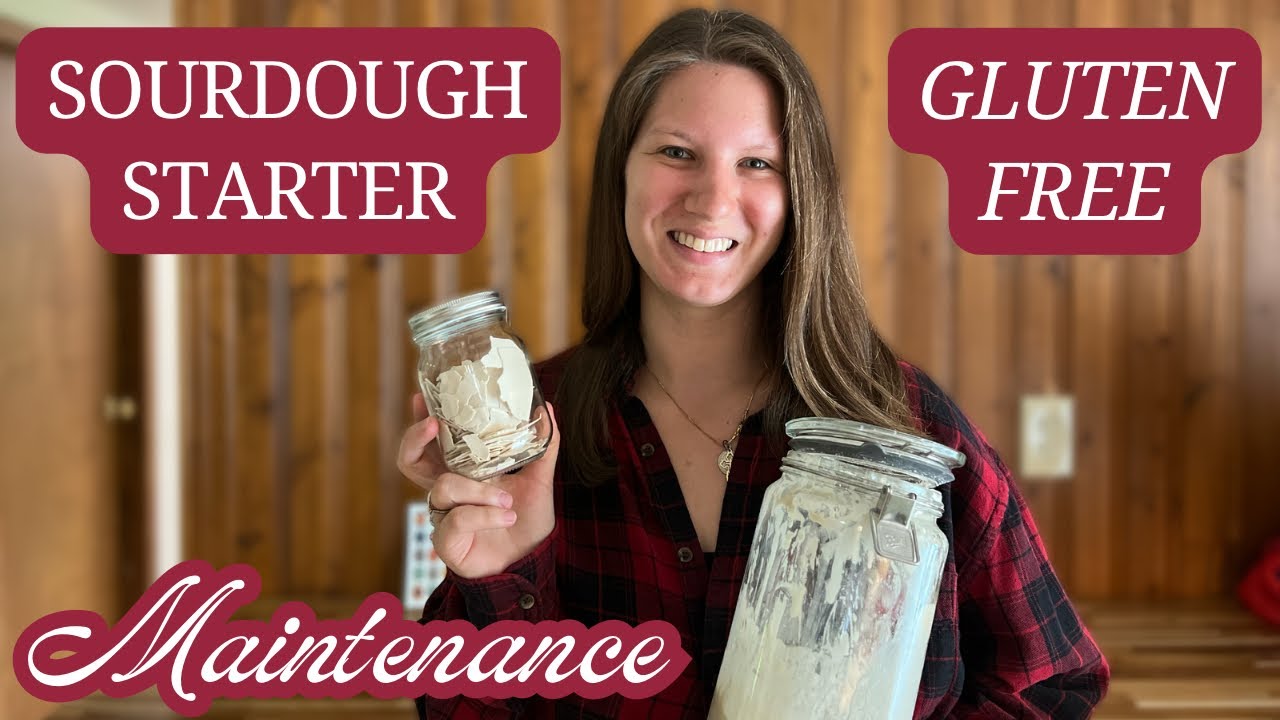
Hello and welcome to my channel if you are new here my name is Kira I am a mom of three little boys and I have had celiacs disease for over 15 years so in my household we are almost completely gluten-free and we love to make things with my gluten-free sourdough starter I have a video showing how to successfully start your own gluten-free starter and.
Many people have had a lot of success with it but today we are going to dive deep into how to maintain your starter for short-term use like this this one was just fed a couple hours ago so it’s not at its peak yet or for long-term use like drying it out for storage or for gifting to a friend to Jump Right In I’m going to grab my.
Sourdough starter directly out of the fridge once I’ve grabbed it out of the fridge you can see there’s this tiny little layer of liquid on top of the sourdough starter and that is completely normal it will happen more if you’ve left it in the for longer so up to a week compared to if it was just there overnight here’s another day that it was.
Left in the fridge with hardly any liquid on top but if there is some liquid on top it’s perfectly fine you just mix it right in and this is where we get started on our feeding sourdough is definitely a science but it doesn’t need to be an overwhelming one people don’t know what to do when it comes time to feeding their sourdough they get.
Really intimidated by feeding amounts and measuring the perfect amount and to me that just isn’t the case I found that if you have a wellestablished sourdough starter it can be actually very resilient so think of your sourdough as all of these tiny little microorganisms and think each of these little microorganisms is hungry and I.
Need to feed it so I will usually look at the amount of sourdough that I have left in my starter and Eyeball about how much is in there so currently I thought hm there’s probably about a half a cup of sourdough in there already so to feed it I’m going to take a cup of flour and one cup of water because that is more than what I currently have in there it.
Is at least the same or more because it means that all of the little hungry microorganisms in there will be fed you want to make sure that everything that is in there will be receiving enough food to make it happy so once you fed the one cup of water one cup of flour or however much your starter looks like it needs you will mix it all.
Together from here you will sit your sourdough starter to the side and let it rest so that it can get bubbly and active sometimes if you’re in a very hot climate this can happen in about 6 hours I’ve found that 12 hours is usually a great amount of time and sometimes even 24 hours if I want things to be really bubbly here’s a few clips of what a.
Happy bubbly sourdough starter will look like once your starter is nice and active this is when you will do one of two things with it first you could use it in baking or if you’re not going to use it in baking right away and you’re looking to store your starter for longterm use you can dry it out and save it so I use 265 G when I’m baking my.
Bread and I will link my bread recipe here as well but if you’re not making your bread and say you are going on vacation and you want to make sure that your starter will last you can dry it out you can put your starter whether it’s active and just been fed or whether it’s just the remainder after you you’ve used it into the fridge however once you.
Reach the 3 we plus Mark the starter can start to develop mold and that is not a good situation so it’s always nice to have a backup of your starter dried out and here I am on another day with a nice active happy starter again and I’m going to take this happy and active starter and dry some of it out to store for long-term use if you’ve dried it out.
Nice completely there is no liquid left to it and you store it properly this can be stored for a very long time I have seen people storing their dried out starter for years and I’ve stored mine for months with no problem so I start by taking a wire rack and laying a silicone mat on it you could also use some parchment paper and the drying rack is.
Primarily just to make it easier to move around once I have spread it nice and thin after you’ve put a mat or your parchment paper down grab some sort of scoop it doesn’t really need to be a measuring cup I just used measuring scoop because it made it easier to scoop it out but I grab my measuring scoop scoop some of it out right onto the.
Silicone mat and spread it extremely thin now this is the important part because if you don’t spread it thin it will take longer to dry so here I started with a small amount because it’s easier to add more than it would be to take some back once you dump it on the mat you can use some sort of spatula or even the bottom of that measuring cup to.
Spread it extremely thin in all if I were to measure it out exactly I believe I ended up using about 1 cup of active sourdough starter so you could use even slightly less than this if you want to make sure that yours is very very paper thin I use my spatula to scrape it all out if you leave sourdough in any sort of container or scoop and do not wash it.
Off immediately it dries like cement so I try to make sure I scoop everything out and rinse things very well but I will spread it super thin cover as much of the parchment paper or the silicone drying mat as you can and then you’re just going to sit it and rest it and it’s as simple as that if you have a dehydrator you’re welcome to dehydrate.
It and speed up the process but air drying it works just as fine with a lot less effort so we will come back and check in on mine every day and see what it’s starting to look like now if you’ve used your active starter for one of two things being to dry it out or to bake something with it it’s time to do something with your leftover starter if.
You don’t want to feed your starter right away you can put the jar into the fridge just as it is and this will be your discard however if you do want to use it this is when you will feed it so if you don’t plan on using it in the next day I would put it into your fridge and pull it out and feed it like we did at the.
Beginning of the video or if you do want to use it again soon you can feed it or if you would just like to feed it to have extra discard to make recipes with you can feed it and put it in the fridge so I scraped down all of my sides I grabbed my scoop looked at exactly how much I had in it and thought I want to put more than what I currently have in.
It and from there I decided that since I have a very little amount of starter left I was just going to feed it a half a cup of flour and a half a cup of water and sit it to rest until it is bubbly and active again if you’re going to leave your sourdough out after feeding it you want to make sure that you have a very loose lid on it or you can cover it.
With something like a thin washcloth and a rubber band to make sure that it gets air flow to it that’s how it will develop by sitting out if you’re putting it into the fridge you can close it because there aren’t any gases that need to make their way out of the jar or at least it has slowed down the process so much that it’s not going to cause a.
Problem by having the jar closed every day I’ve been checking in on the sourdough that I have spread out to sit and rest and dry out and as you can see it starts at the edges and you can tell the parts that are getting dried so there was one day 2 days and 3 days and then by the fourth day it was completely dried out now if you wanted to speed up.
The process again you could use a dehydrator or you could spread it even thinner than I did and that will move things along much faster but once it is completely dried out you will go ahead wash your hands nice and well and dry them completely you do not want to add any more moisture to these and then you will crack all of the sourdough starter.
Into small little pieces some people will put it in a blender and blend it up if you want to make it more compact but it’s not necessary if you just want to keep a small amount so I will break it all up and put it into a jar to save in case I ever need it again it’s also a great way to gift it to somebody because you won’t have to give it to them active.
You could give them a little baggie with instructions on how to rehydrate the starter when you’re ready to rehydrate you will grab out a mason jar and a small piece of your sourdough starter put it into the Mason jar and use something to crush it up into smaller pieces so I stuck a piece into my mason jar and just grabbed the spoon with a.
Long handle and broke it up into smaller pieces did not blend it but just smaller pieces after you have it in there you’re going to start feeding your sourdough like you would any other sourdough starter so I look at the amount realize that there’s a very small amount here and I start by feeding it 1/4 cup of flour and 1/4 cup of water to feed my.
Starter and to bake my bread I use a measure for measure or one to one glutenfree flour blend and it works out wonderfully for me my favorite brand is the King Arthur’s brand it’s very easily accessible at my local stores so it has been my go-to for a long time after I have done the initial feeding of the sour dough starter that I’m trying to.
Rehydrate I cover it Loosely with a little washcloth you can tell that I am a mom of young children when I have children’s washcloths to cover it with and a rubber band and sit it to the side to rest like you do your traditional sourdough starter after you have fed it I sat this starter to rest for about 24 hours and.
Came back and at that point I was able to tell that it was starting to do something but it wasn’t quite there yet so you can see that it’s starting to get active and form a little bit of bubbles but it still had a little ways to go so to boost it a little bit more I’m going to give it one more feeding you can tell it hasn’t really Rose a bunch here but.
It was starting to do something so I’ve looked at the amount that I had and decided I wanted to give it a little bit more and really encourage it to grow so I gave it about 1 cup of water and one cup of flour and gave it a very good mix this is where you will see that it got to work work and was ready to be baked with again I mix it all up and make sure.
All of the flour is well Incorporated if it’s not that thick pancake like consistency then add just a little bit more water to it cover it up and come back the next day and you will see that you have a very happy bubbly and active starter just like you had in the beginning before you dehydrated it or before you dried it out baking sourdough.
Has been such a joy in my life and I’m so happy to share share this journey with you if you want to follow along please be sure to like And subscribe and you will be up to date on all of my new gluten-free sourdough videos