Gluten-free All Purpose Flour blend for baking and cooking, with instructions on how to make it. Includes tips for mixing, rolling, and icing. Watch the video now!
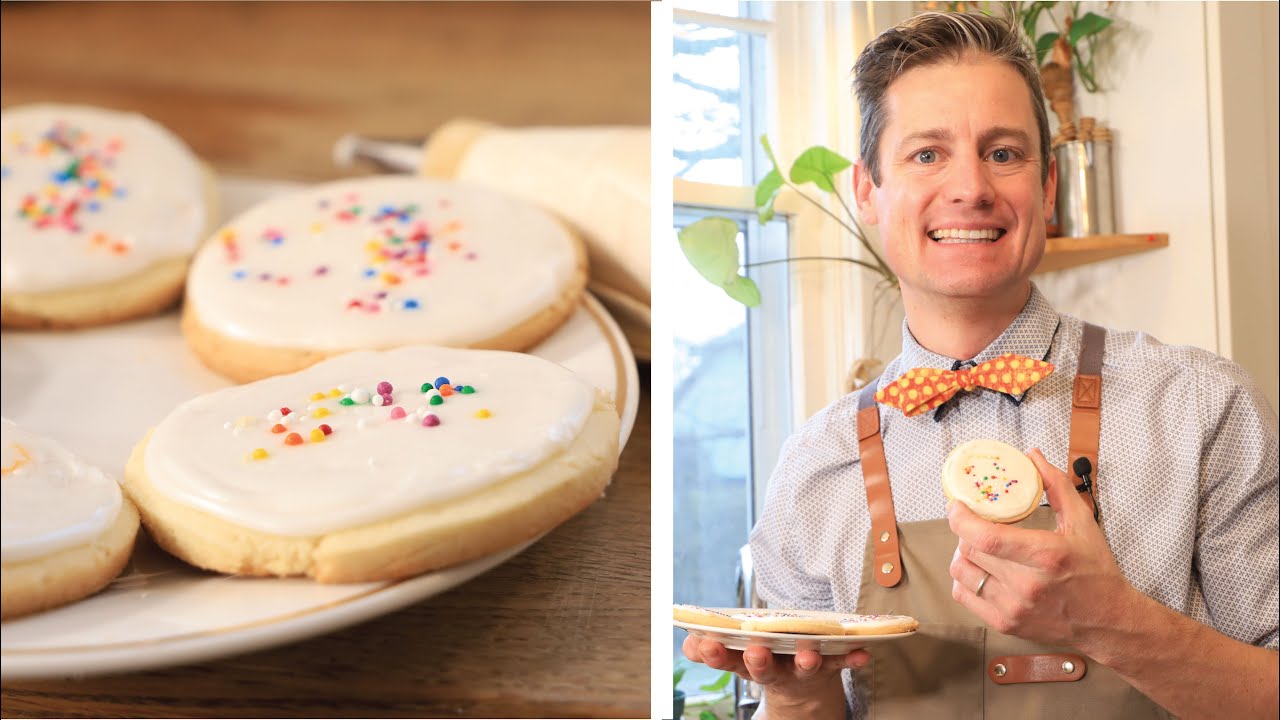
Delicious and Healthy Gluten-Free Sugar Cookies
This is the description text for a YouTube video. The video showcases the process of making a gluten-free recipe using Frankie’s gluten-free All Purpose Flour blend.
In the video, the creator begins by introducing the ingredients and instructions needed for the recipe. For more detailed information, viewers are directed to glutenfreeguy.ca. To purchase Frankie’s gluten-free All Purpose Flour blend, they can visit glutenfreefrankies.com or search for “Frankie’s Flour” on Amazon.
The video then proceeds to show the different steps involved in making the recipe. It starts with mixing the ingredients together and progresses to rolling out the dough. Viewers are given insights into oven settings to ensure the best results.
Later in the video, the creator demonstrates the icing process and shares some valuable tips. Towards the end, there is a moment where a mistake is made, adding a touch of humor to the video.
The video concludes with credits, acknowledging those involved in its creation.
Gluten Free Sugar Cookies Video Transcript
Hey foodies, today let’s make some sugar cookies. Sugar, butter, eggs, flour, what’s not to like? You might know these cookies by another name, perhaps jumbles, crybabies, cimbellines, plunkets, gimblettes or gemmels. Well, whatever you call these cookies, they can be farmed by hand, rolled out, cut into shapes or dropped onto a cookie sheet. These are a must for holiday.
Baking, whatever the holiday may be. So let’s roll up our sleeves and bake some sugar cookies. And we want to start by taking our butter and I’m going to grab a spoon here and just – there we go, we’ve got butter in there and our sugar and we’re going to cream these together. And I’m using my paddle, which is pretty much the primary mixing device that I use when it comes to gluten free baking.
I do use the whisk for lighter ingredients, but the paddle is always a good go-to for me. So I’m going to scrape down the sides. There we go. And now I’m going to add my egg and I like cracking my eggs in a separate container just to make sure I don’t have any shells or there’s nothing wrong with the egg.
And then that goes in and I’m going to pop my vanilla in and I’m going to mix this up. Okay now I want to add my salt and my flour and I’m just going to lightly mix that in. It doesn’t have to be super mixed and I’m going to put my flour right in there and I’m going to mix this up. I just love how when you’re mixing something up, especially like a pastry or a cookie and.
You’re like, “Oh, did I put enough liquid in it? Is there enough liquid?” And then it just comes together. It’s so exhilarating for me and I love it and I’m like, “Oh, maybe I’ll stop and I’ll just scrape the walls down.” But it just came right together. It’s really nice. What’s also really nice is because it’s gluten free, you.
Can beat it and beat it and beat it and your cookies aren’t going to get tough. If this was a traditional wheat-based recipe, you would want to just mix it until it was just together and then you could finish it with your hands to roll it out because you don’t want to develop any gluten. But because there’s no gluten in this flour anyway, you can beat it and mix it and it’s.
Not going to get tough because that’s what happens. So look at this. It’s just beautiful looking pastry. Well, it looks like pastry and it could easily be used as pastry, but we’re going to make cookies with this. So I’m just going to scrape the walls down. Oh, God, that smells good. And I make this every year, but every.
Year I’m like, “Oh, that smells so good.” So let’s unpack that out of the way. So I’ve got some parchment paper here and that goes there. And then what I’m going to do is I’m just going to drop this down right onto the parchment paper. I’m not using any flour to keep it from sticking because the parchment paper is going to keep it from sticking.
And we’re going to be rolling this out just a little bit and then we’re going to refrigerate it for a while. There we go. So I’m going to put another piece of parchment paper on top. There we go. And then I’m just going to roll this out so it’s a little bit more manageable.
And I’m rolling this out to centimeter or about a half inch. And I could probably go a little bit thinner too. Okay, so let’s just really squish that. That’s better. And I’m going to flip it over because this side looks pretty good. We’ll make sure there’s no wrinkles on that side. That side looks really good too.
And you can see, like, it’s just a nice thickness. It’s a little less than that. It’s probably closer to a quarter inch thick. So about six millimeters. So I’m going to slide this onto a cookie sheet. It’s going to go in my fridge for about two hours. It’s going to rest and let the butter firm up so that we can roll it right out and we can cut out some shapes.
See you in a moment. So it’s been a few hours and this looks great. I mean, you can see I can pick it up. It’s nice and firm. I’m going to set my pan aside and I’m going to keep the parchment paper because I’m going to use that when I roll this out. So I’ll just set that there and I’ve got my dusting flour. There we go.
And I’m going to flip this out onto the flour. Just let it warm up a little tiny bit with my hands. And I’m going to do a light dusting of this right here. And I don’t need to roll it much because it’s already a really good thickness. I’m just going to roll it a little tiny bit just to give it a bit more, make it a bit more even. That looks really nice.
Okay. And it’s okay if it’s cracking a little bit. We’re not going to use the cracked bits. Until we reuse it. Okay. So I’ve just taken it down probably to about 6mm, 5mm, 6mm. And I’ve got a 3 inch round cutter. But again, you can use any shape of cookie cutter you want. And you can see how nicely that is. And then I just pull it out and.
I’m going to set it on my pan. Nice and easy. And I’m going to go around those broken bits. I can fit one in right there. Look at that. That’s beautiful. I’ll just keep going. I’ve got all of the first round done cut out. I’m going to evenly space these out on my cookie sheet. I’ve just clumped together the dough here.
I’m just going to re-roll it out. Again, we don’t have to worry about it getting tough. The one thing you don’t want to do is you don’t want to handle it too much. Because you don’t want that butter getting too warm. Because then it’s going to melt and then you have to re-refrigerate it. But if you do it quick enough, then you can just keep going.
Okay. These are going to go into a preheated oven of 350 degrees Fahrenheit or 175 degrees Celsius. Until they’re golden brown. See you in a moment. These look amazing and they smell so good. They took 10 minutes in my oven which is awesome because I love when you have fresh baked cookies. Oh, that one’s still a bit warm.
Oh God, that smells so good. I want to eat it but they do need to cool because you can see they’re just falling apart a little bit on me. So I’m going to let them cool and firm up a little bit. We’re going to make some icing to go on the top and it’s going to look beautiful. So I’m going to put these aside and we’ll let them cool. So I’ve got 3 cups of sifted powdered sugar or icing sugar. And I’ve got about 5 tablespoons,.
We’re not going to use all of it, of milk. And you can use a milk alternative like soy milk, almond milk, hemp milk or just water if you really need to. But the milk actually allows it to solidify a little bit better. And we’ve got some vanilla. So there’s the vanilla in there. And I start with a couple tablespoons. There we go.
That’s about 2 and a half tablespoons of milk. It doesn’t look like much but it’s going to melt down and make a beautiful icing. So already I can see that it needs a little bit more milk. So I’m going to add a little bit more milk and just mix it up again. And I’m going to add a little bit more because it needs to be a little bit runnier than that. This is where you have to be extra careful.
Just a little bit of milk goes a long way. It’s almost there. I think a little tiny bit more. Looks like I’ve got about a maybe half a tablespoon left. And look at that. It’s holding its shape but it’s also soft so it’s actually flowing in which is exactly what you want. So I’ll set that aside. I need my spatula.
And I’m going to scrape the walls down. Oh that looks great, this icing. That looks beautiful. And if you make it too runny, always remember you can add more icing sugar and if it’s not runny enough you can always add a little bit of milk to soften it up a bit. I think that looks pretty good. Let’s get this into a piping bag. I’ve got a number five piping tip.
You can use something slightly smaller, something slightly larger, but I wouldn’t go much larger than a number five piping tip. Mainly because you want to be able to just do the outer edges and then fill it in. And at this point if you want to add food dye to your icing you can do it. You can make reds and greens and blues. But I just like it white.
I might put some sprinkles or something on them. Let’s get the last of that icing. There we go. That’s stiff, which is what you want, but it’s not so stiff that it’s impossible to get it out of the piping bag. A little bit more is in there. Okay, I’m going to put this stuff away. Drop that in the sink. I’ve got my piping bag.
Let’s grab a cookie. Just slide this there. I’m going to use the one that I broke a little bit. Okay, so you want to just go on the outer edge. Just like so. You can see how it’s holding its shape, which is what you want. Then I’m going to grab a little spoon and I’m just going to fill in the cookie.
Oh, that’s beautiful so far. I’m just putting a little bit of icing in as many spots as I can. Then I’m going to spread this out. A toothpick works really well for this, especially getting into finer details and areas. This is looking so smooth. A little bit more icing. Oh, that looks great.
I’m going to take some sprinkles. Who doesn’t like sprinkles on their cookies? Oh, that looks beautiful. I think it’s time for me to just have a cookie. I can’t believe I just dumped my sprinkles all over the floor. Well, so these are going to want to set up for a few hours until you get a nice hard crust. I need a cookie right now, so I’m going to bite into it.
The bottom looks absolutely beautiful. It’s a nice golden brown. I really like it and they smell so good. I mean, just like I said earlier, what’s not to like it? Butter, flour, eggs, sugar. I mean, it’s sort of like shortbread and it’s so good. Thanks for watching.